How to Wall Mount a Flat Panel TV
Mounting a flat panel TV to the wall not only enhances the overall look of the room, but it also removes clutter and frees the floor, thereby giving you additional space for other things. These days, such advanced television sets are in trend, so it becomes highly necessary for the users to understand the technique behind installing it. Although the manufacturer would enable you with technicians for mounting it to the wall, but those below mentioned tips will be indeed helpful, when you’ll be shifting. Continue reading!
You will require the following tools and doodads to wall mount a flat screen TV
- TV wall mount kit
- Wall mount screws
- Power drill and bits
- Screwdriver
- Level
- Stud finder
- Tape Measure
- Socket wrench
- Pencil
- Cable-wire tester/locator
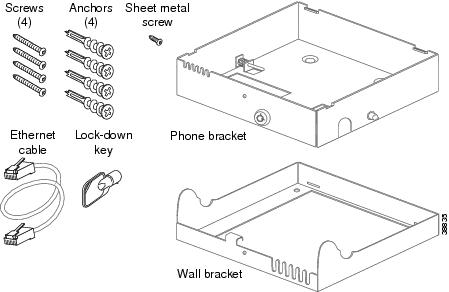
A standard wall mount kit features two mounting arm, which are supposed to attach to the back of your TV, wall mount screws and a broad bracket plate, which fixes to the wall. In this plate, the mounting arms are supposed to be locked, which helps in securing the TV to the wall.
Although a wall mount kit comes along with the set, but you’ll have to purchase certain other items such as drill bits, screw driver, socket wrench and wall mount screws for installation. The online stores are the best media to grab those supplies at the best buys. You can visit here to look for those items at affordable rates.

You can do it yourself, provided you follow the steps and have got required supplies. As you work on your project, make sure to go through the manufacturers instructions manual to make your task more easier.
Preparation
- Before initiating the task, go through the manufacturer’s mounting instructions for both the TV and the wall mount screws
- Now make sure you have got all necessary hardware and cable for the installation
- Now decide, whether you want to show or hide the cables in the wall behind your TV
- You will however need the help of another person to help you hang the TV on the wall bracket
Now follow these basic steps
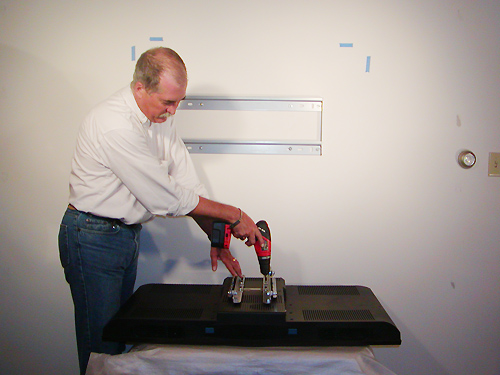
#Step 1
Attaching the mounting bracket to the TV
.jpg)
- If the TV frame already features a stand then you’ll have to unbolt and remove it
- Now look for the mounting holes on the back of the device. You may also have to butt in the plastic caps over the holes with the help of a screwdriver
- Fix the mounting arms to the mounting holes with the help of the wall mount screws and bolts, which you have purchased online
- However, make sure neither to over tighten it nor use a power drill. Just try leveling the two mounting brackets with each other
- Now place the TV in accurate position, so that the screen is facing upward, as placing the device with the screen facing downward can damage it permanently
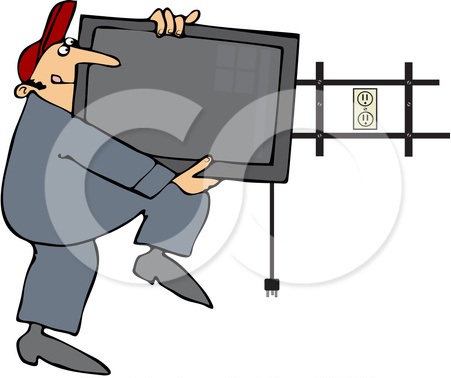
#Step 2
Determining the best wall location
.jpg)
- You’ll have to identify the best wall location for mounting the TV
- Select a location, which is free of glare and renders good visibility from all sitting areas in the room
- To have maximum viewing comfort, you can mount your flat panel TV at a specific height on the wall, corresponding to the viewers eye level from the sitting area. The center of the screen should be located at least 4045 inches from the floor
- Make sure that your chosen location is close to an electrical outlet
- Measure the length of power cod, to make sure it reaches to the plug point
Here’s a video, which can help you in wall mounting your TV. Have a look!
#Step 3
Installing the wall mount bracket to the wall
- You’ll require a stud finder to trace out the two studs in your wall, to which the TV would be fixed
- Now spot the location of each studs center with a pencil. You can use a screw to confirm that stud has been located
- Now measure the distance between the top and bottom holes on each of the mounting arms. The two points in the center of each wall stud should also be marked, corresponding to these holes. It’s suggested to use a level, so as to ensure that the mounting holes for each arm are even
- Now use a power drill to create pilot holes for the wall mount screws and bolts
- It’s time to fix the wall bracket plate to the wall using these fasteners. If the kit already has lag bolts then you’ll require a socket wrench to drive them in
Note: Do not use hollow-wall anchors as they are not meant to support TV wall mounts.
#Step 4
Connecting the cables
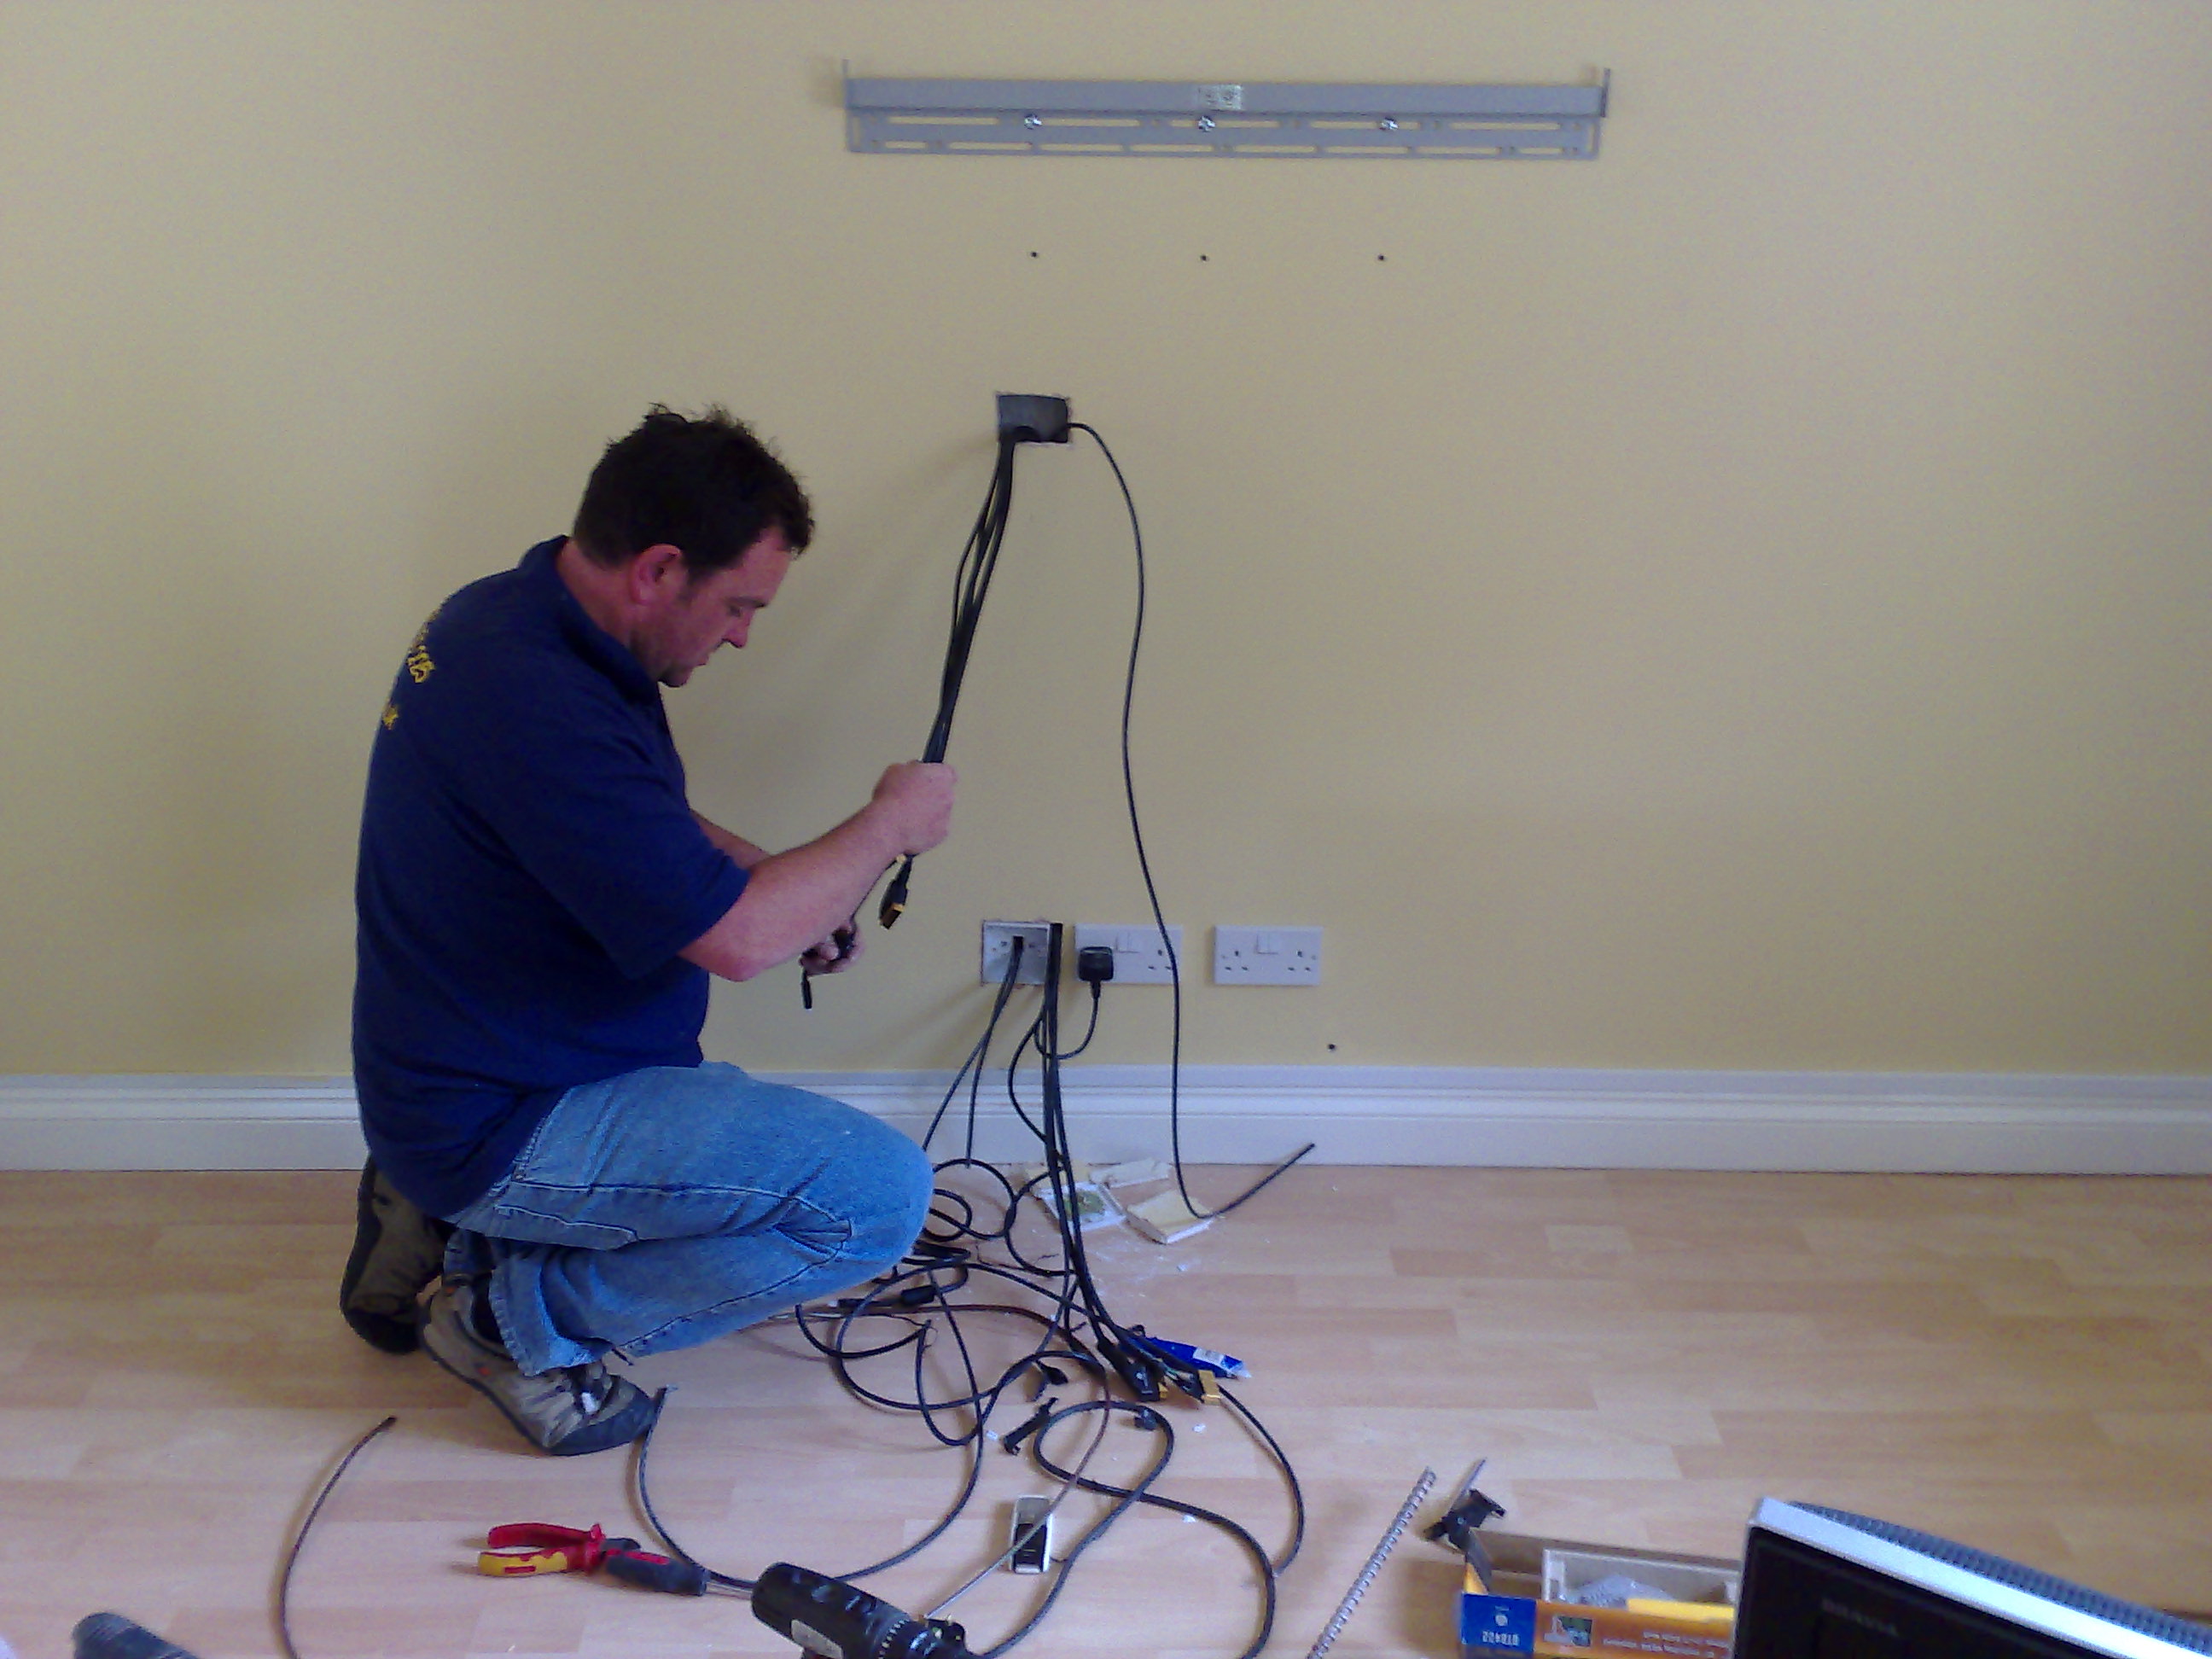
- Make sure the TV and the attached supplies are unplugged
- You’ll require somebody’s help as said earlier to hold the device up to the wall mount. Now with your partner’s help, attach the audio and video cables to the television as per the manual instructions
Leave a Reply