Micro Screws, Quite an Essential Requisite for Your iPhone
There is no denying that iPhone series are ruling the world market of mobile handsets. Their technology, their highly advanced features and tremendous usability have enabled this very brand to become one of the most sought-after assets and those, who already own these widgets do not mind flaunting their prized possessions.
The brand has become so popular in the recent times that numerous online stores have been set-up, rendering services and required accessories for iPhone series. You can easily avail anything related to this particular mobile phone, ranging from headsets and phone covers to screen guards. You find them all at one single store. And you can blame Apple’s popularity for such kind of easy approach.
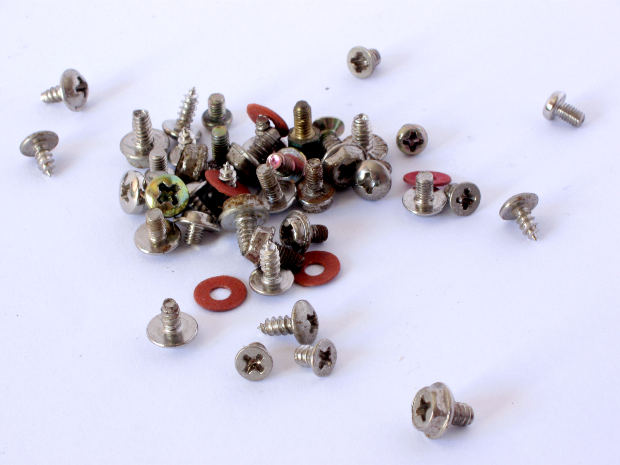
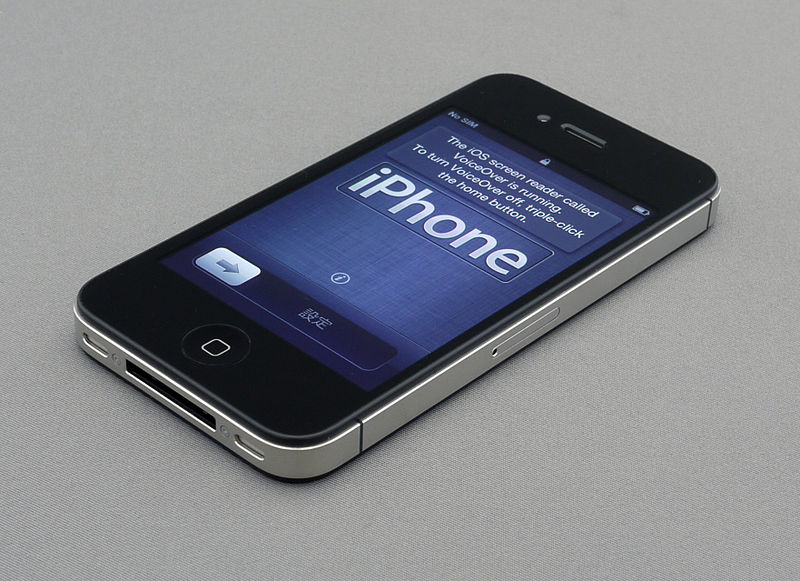
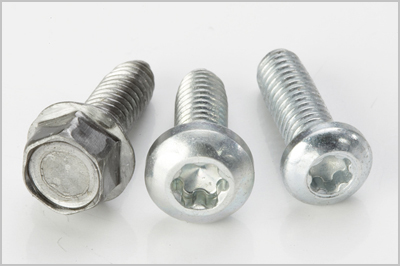
Lets say you have got an iPhone 5 and you’re looking for some sort of replacement parts for your handset, say micro screws. These web stores may or may not be dealing with such kind of unique fastener, so it’s always better to look for web stores, completely dealing with fasteners and hardware supplies, such as Mutual Screw and Supply.
While the stores dealing with iPhone devices may charge you a small fortune for such petty requirements, so it’s always better to go for such stores, who are dealing with such fasteners day in and day it. By this, you can surely land up with a smart dealing. Even by browsing further, you can analyze and compare prices offered by various stores and you would conclude which store is cheaper, whether a fastener shop or an exclusive store set-up for iPhones.
These phones are no cheap so they are meant to last for a longer time period. The materials used in their creation and so as their designs work altogether to enable you with a durable and long-lasting handset. However, their sturdiness doesn’t mean that you won’t have to face any kind of repair job. Besides, this is also a part of the game, while dealing with mass-produced cell phones. Fortunately, there are ways, by which you can cost-effectively deal with your replacement issues and online is always the best medium.
There are several reasons, for which you may need micro screws for your iPhone. Below listed are a few reasons people look for these fasteners for their exquisite handsets.
The screws of these widgets may get loosened after a certain time period and eventually some may even go missing. The regular usage leads to wear and tear of a cell phone, thereby causing rivets to become lose. You cannot fasten these tiny metal objects easily, unless you find a flathead screwdriver to fix the job. In the meantime, the screws may fall out of place.
You may be willing to replace the handset’s logic board and in the process may misplace a few micro screws and thanks to your careless attitude. Thus, you’ll have no option left but to look for some new pieces.
There are people, who are careless in dealing with such delicate devices and would be seen quite often dropping them or throwing them recklessly on their desks. Such actions may even lead to loosening of screws and eventually misplacing them.
Thus, for several reasons, you would be looking for micro screws for your iPhone or even for any other reason. The reason however, rarely matters and all you need supplies at the much needed time. We, at Mutual Screw and Supply, can help you with deal with such annoying situations. Visit our store to find out more about the pricing and on-going deals.
.png)
